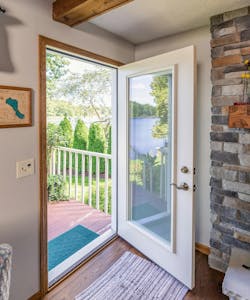
Entry Door Replacement – Essential Steps for an Impeccable Installation
Proper entry door installation is crucial for a number of practical, safety, and aesthetic reasons. Security, weather protection, durability, functionality, energy efficiency, and curb appeal all depend on an accurate, professional-quality installation.
Using a 20-gauge steel Legacy™ entry door with a FrameSaver® frame, Conrad Mast, Director of Installation Support at ProVia, demonstrates several critical steps for installing an exterior door. Check out the video and follow the instructions below to ensure a properly aligned and anchored door that will close, seal, and latch securely, prevent air and water leakage, reduce exterior noise, and provide great curb appeal for your customer.
♦ Begin by checking the floor for level, and the walls for plumb
♦ Dry-fit the door to ensure proper sizing
♦ Prep the opening by applying a waterproof rubber membrane with an adhesive backing to the floor, up the walls approximately 6”, and down over the outside face
♦ Apply two parallel beads of caulking that align with the surfaces of the threshold
♦ Set the door in the opening
♦ Install one screw in the header brickmold, and one screw in the bottom of each vertical brickmold
♦ Remove the shipping bracket screws and carefully lift and open the door to avoid frame damage
♦ Remove the shipping bracket from the door and check the plane; if necessary, adjust the frame to the door slab
♦ Install one smooth shank screw in the top hinge
♦ Check margins to ensure they are equal from the top to the bottom of the door
♦ Shim behind the bottom hinge, then re-check the margins
♦ Install a full-thread screw in the bottom hinge
♦ Shim behind the top hinge, then install a full-thread screw in the top hinge
♦ Replace the initial smooth shank screw with a full-thread screw
♦ Shim behind the middle hinge, being careful not to over-shim
♦ Install a full-thread screw in the middle hinge
♦ Check the plane of the door and the margins one last time to ensure proper alignment
♦ Install the hardware
♦ Shim behind the strike prep, and above and below the deadbolt prep
♦ Install the deadbolt strike plate with the dust cup
♦ Install the 2-part strike plate and adjust for proper operation
Watch the Video
Sponsored by


